i decided to take the risk drill my tank and put on an external box. I used the bean setup and am in the process of getting it done so more to follow…


looks good so far
Looking good Tim. Is there anything holding up the box or just the silicone?
just silicone once its fully cured its momentive rtv 108 silicone adhesive its strong stuff
Yup, good stuff that rtv 108.
Looking good :![]() :
:
like fine Swiss craftsmanship!

I would want to support that overflow a little better. The box by itself silicone is probably ok but add that pvc full of water all the way down to the basement thats a good bit of weight and some vibration to go along with it. I’ve seen people take a board drill holes to match the overflow pipes then cut the board in half. Attach one part to your stand and then use the other part to sandwich your overflow pipes,the saw cut removes just enough material to make a tight fit. Another thing is just expandable foam where the pipes go through the floor. Better safe than sorry.
Thanks gonna get the rest of the stuff needed to get it running soon. Want to build a platform for two 75g tanks 2x4 and plywood that should be strong enough right? I will build it pretty strong.
[quote=“Mburke, post:7, topic:5479”]
I would want to support that overflow a little better. The box by itself silicone is probably ok but add that pvc full of water all the way down to the basement thats a good bit of weight and some vibration to go along with it. I’ve seen people take a board drill holes to match the overflow pipes then cut the board in half. Attach one part to your stand and then use the other part to sandwich your overflow pipes,the saw cut removes just enough material to make a tight fit. Another thing is just expandable foam where the pipes go through the floor. Better safe than sorry.[/quote]
Yeah I figured that in. The holes in the floor are just the right size for 1.5" pipe I will set the pipe in with a fitting holding the weight. And 1" flex from the box to the 1.5" through the floor. So the only weight will be a foot of 1" and for the return line from the pump will have a foot of flex on either side of the pump to cut down vibration if any.
Sounds like you already got it covered. Nice build
So why do I feel like I’m forgetting something. There always something that goes wrong. Just hope it’s small.
hey if you need help moving tanks and stuff around when you get around to the sump(s) let me know
Are you still using your 75 sump / fuge? I missed that part maybe. How are things getting along in the down time?
I am using it and chopping a 75 in half to make two tanks. They will be rimless. Pump is ordered, need a utility sink and maybe some type of smallish tank for a qt. the 10 gallon might be a kalk stirrer who knows. The sump and stand platform is made enough to get me going. I can add on if needed. It’s going very well so far just hope the tanks I plan to drill don’t break lol

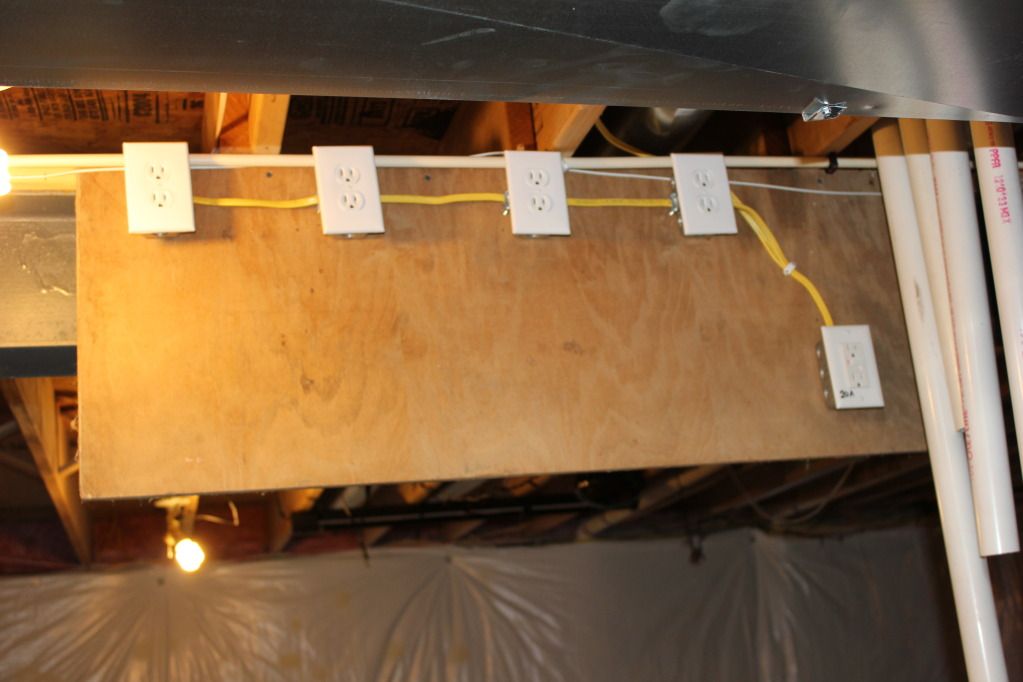
installed these lights to see and possibly use them for adding tank lighting.

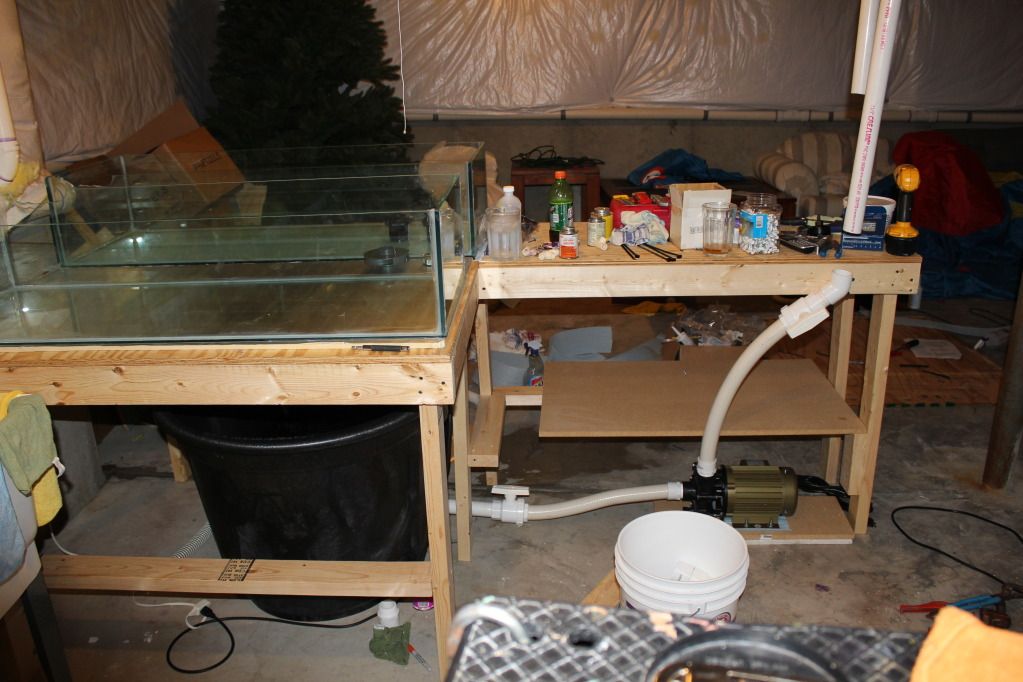
this is the 100g sump and the tanks are from a 75g cut in half and re siliconed
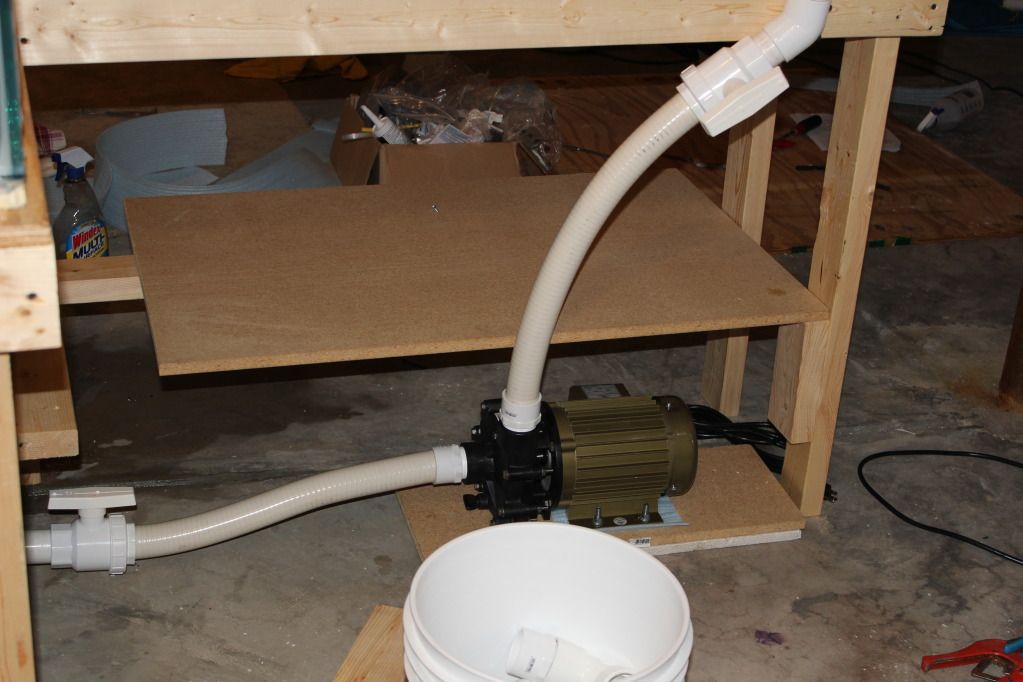
heres the pump with flex pvc and valves on each side for maintenance.
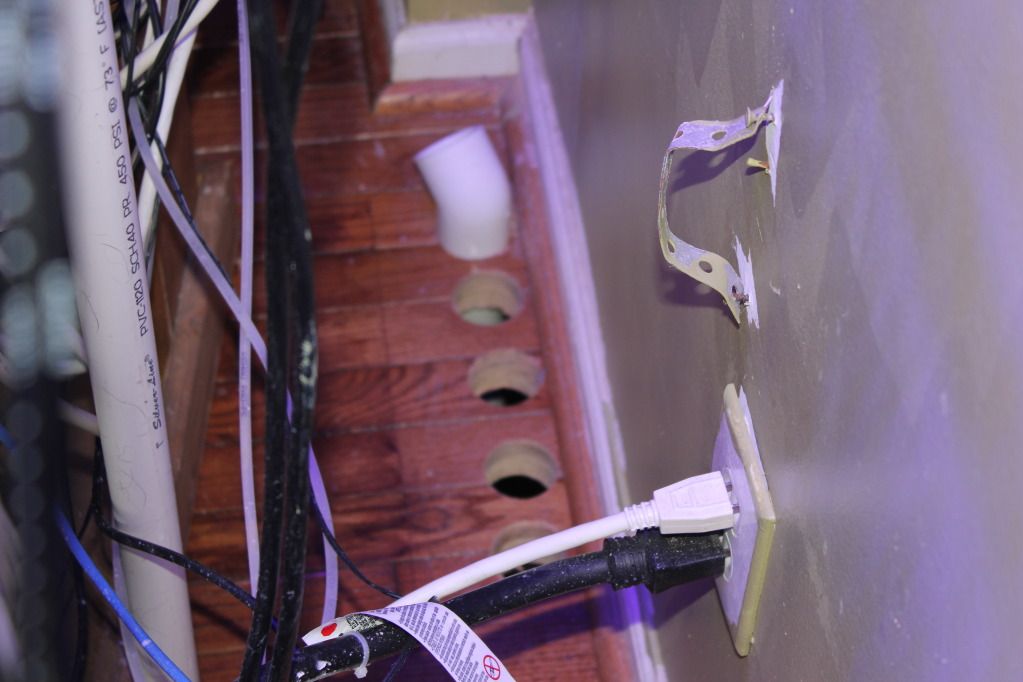
heres the electrical where i’ll mount all the components and controls its a 20a service with a gfi outlet operating the other outlets… tomorrow i will connect the pump and see if it works. wish me luck
Nice bunble of pipe coming through the floor next to the elctrical panel. you might think of a splash shield to separate them. that one outlet is in range of a leak from the tank above splashing down the pipes.
Safety first.
Hey Dunk, How did you cut down the 75? full disassembly and cut the panes and then back together? Looks like a neat job. same size as my acrylic frag tanks.
The pipes aren’t done yet. They will go in the tank under the glass and the emergency drain will go to the sump I think. But it’s gfi and tank will be grounded. So it will be safish lol
I took the tank apart and had them cut then got another piece of glass for one of the bottoms. Then silicones them together. I also cut the top edges of the two so water will flow from one to the other.
Coming along nicely Tim. So, I guess the pipes will go across from where the hot water heater is to all the way across to the wall where the sump is? I thought it was going directly under where the hot water heater is.
i will put my refugium under the pipes on the table and then it will drain in there to the two coral tanks then into the sump
The project is really coming along nicely. Did you have the glass cut at the local hardware store or a glass guy? I tried to cut glass once with a kit, not such a good idea for me. ::hitsthefan:: I kind of agree with Ken about protecting the electrical, a shield is cheap insurance. The wires leading into the GFCI are not protected and vulnerable where it is now. If possible can the GFI outlet be on the other side(left side of the panel) so there is greater distance between exposed, “unprotected” wiring and the water? But all in all this looks like a really nice set up in the making.