Engineered or solid? There is really no “curing time” just an acclimation period.
[quote=“dustin0479, post:61, topic:7613”]
Engineered or solid? There is really no “curing time” just an acclimation period. [/quote]
It’s engineered. I didn’t know if the glue needed any time to set but I’m just going to assume we’re good to move the tank into place just as soon as the tank gets here this weekend.
So aquatraders has been MIA for over a week now. I tried numerous times to contact their customer service but they weren’t getting back to me.
The lights they sell have been listed as out of stock with a shipment due on January 16th.
I found the same lights on ebay from a seller who has a ton of positive feedback. I bought 3 units for $90 each.
Tank arrives tomorrow! z<>z
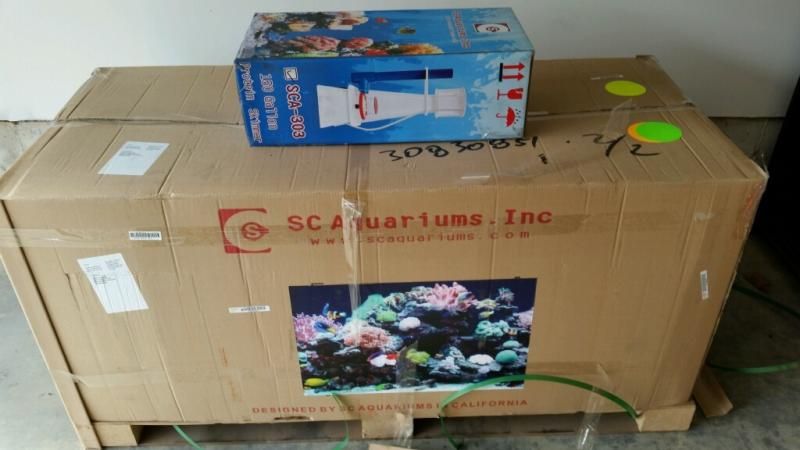
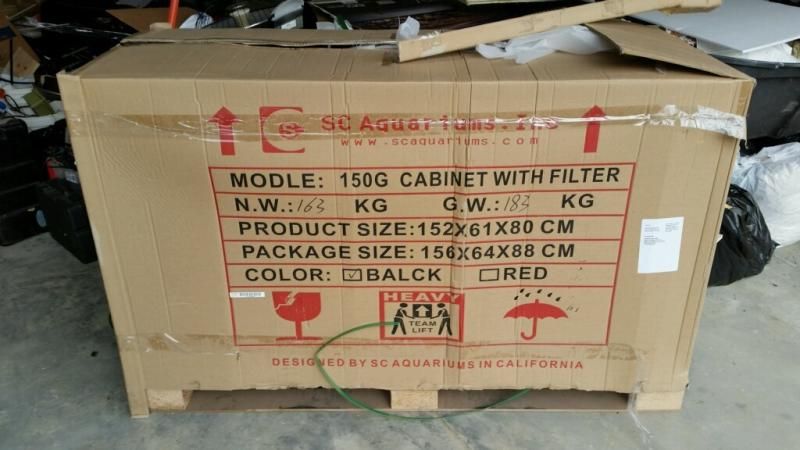
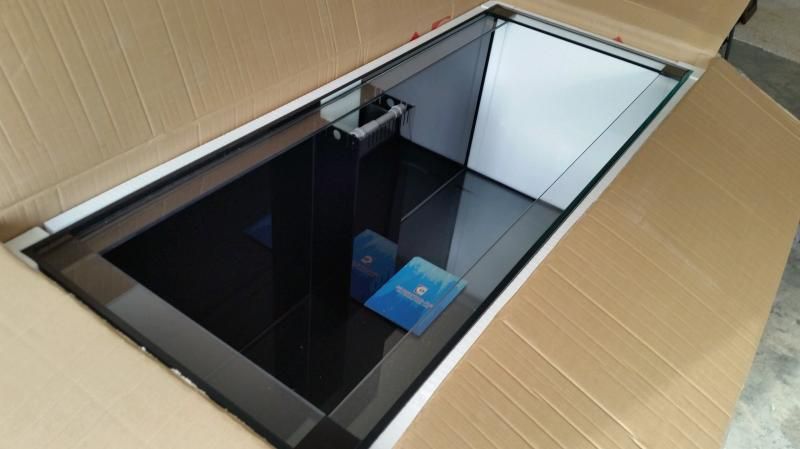
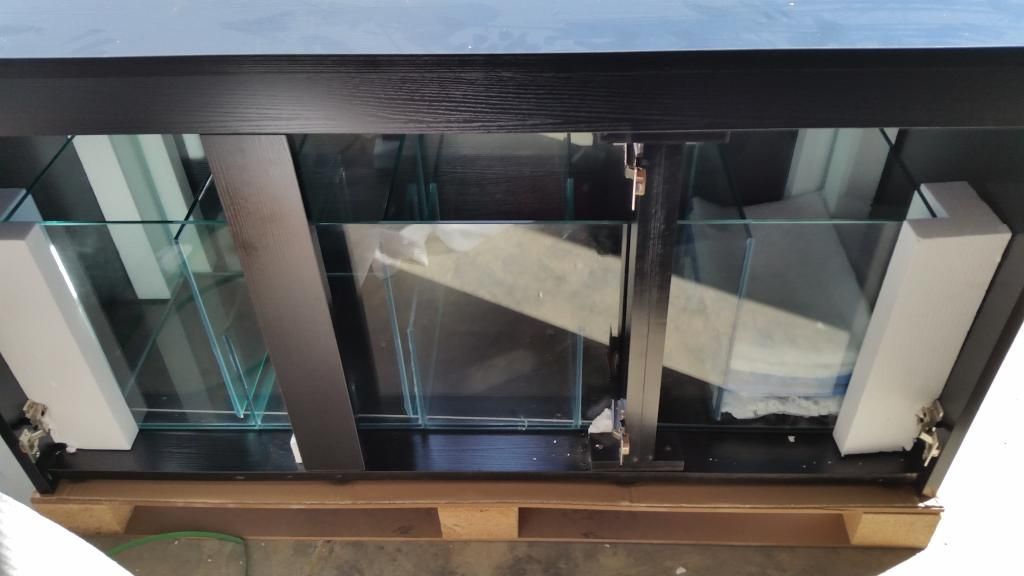
Tank is here and it looks fantastic!
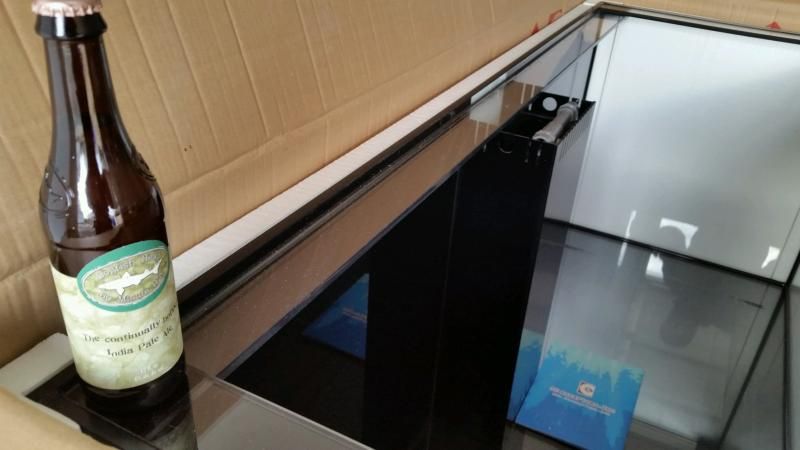
The starfire glass looks like crystal on the edges and the black silicone is super clean.
I took some pics of the unpacking (including the very important beer on the eurobrace shot) but since my floor is being demo’d I’m currently without internet at home and will have to wait until the weekend to upload the pics.
Depending on the progress of the construction, I might take you guys up on the offers for help next weekend.
This weekend I’m probably going to focus on getting the hole cut out of the drywall and buying the appropriate plumbing to connect the display to the sump a floor below.
Can’t wait to see it!
4G jason upload that shit from your phone bahahaha
I got an error message saying the file is too large when I try it on this site.
When I try to upload to photobucket it just stalls out after a minute or two…
Oh boy Christmas again!!!
Assembled the canopy this morning. The next task is going to be to dissassemble the stand.
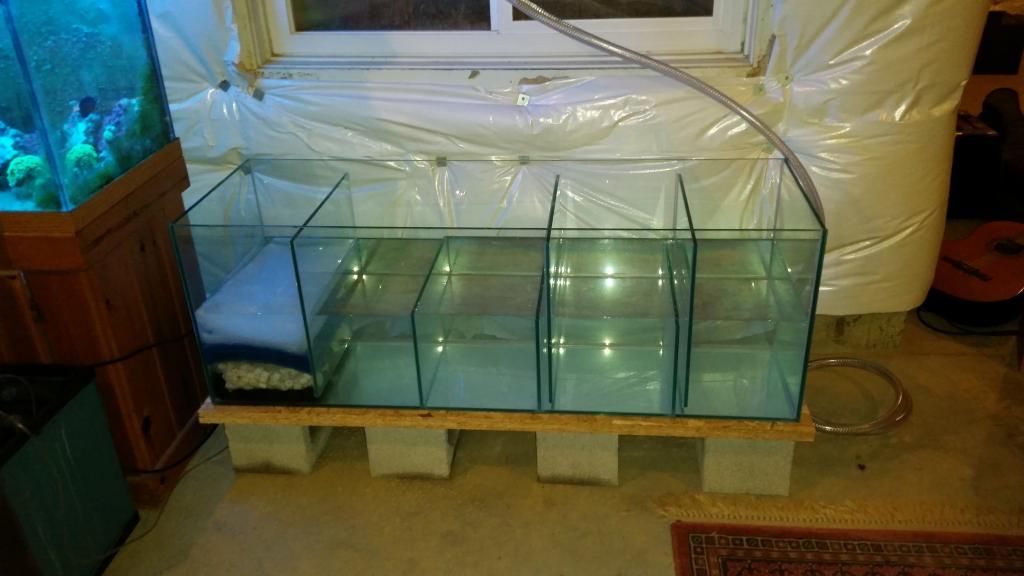
The sump shipped inside the stand. It looks as if the front braces are only screwed in place so I’m hoping to be able to pull the sump outside of the front by removing the braces. If it’s any more complicated than that, it’s going to be a major PIA.
Looks like a real nice set up ::thumbsup::Ok, so I’ve been pretty busy prepping for the tank install tomorrow. I put a post up but if anyone is free tomorrow (sunday) at noon, I sure could use a hand getting this thing into place.
http://delreefclub.org/smf/index.php?topic=8978.0
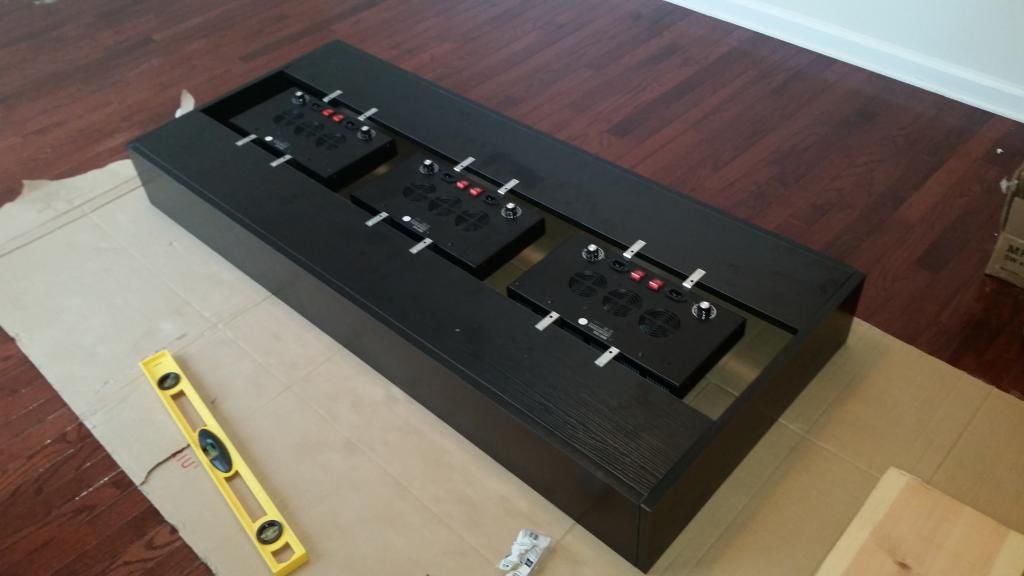
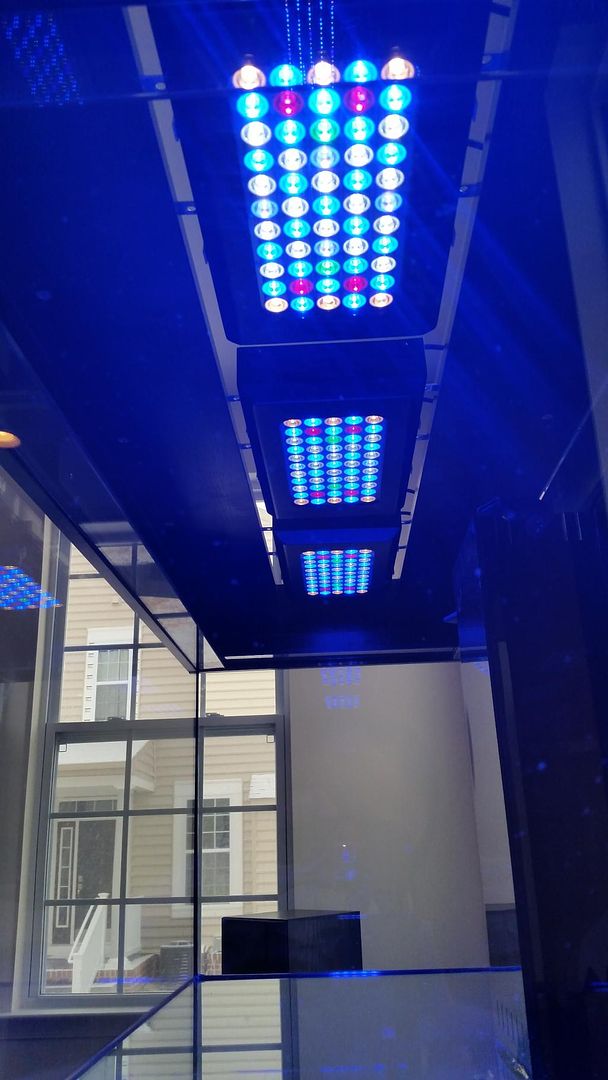
My Chinese LEDS arrived on Friday. When I assembled the canopy I realized there was a perfect spot for these 3 units to hang. I’m actually going to use brackets to permanently attach them to the hood of the canopy.
I bought flex tubing for the drain and return lines and the appropriate adapters to make everything fit. I’m not going to use the 90 degree elbow that was supplied to go with the bulkhead so that means I’m going to need to cut a larger hold in the back of the stand to pass the lines through.
Already cut a nice clean hole through the wall to pass the lines between the floors.
Again, please PM me if available Sunday at Noon to help me move the tank into place!
Thanks!
Final prep is underway!
Again, this is a call out to anyone not doing anything this lovely afternoon. I’d like to have as many hands on the tank as possible as we move it into position. Please consider lending me an hour of your time this afternoon starting at 12PM in Middletown. PM me for address or directions!
This morning I cut the rubber mat to the size of the tank. I’m going to leave 5" between the wall and the tank and about 3" on all sides.
The real big project was getting the drain and return lines between the floors. It took a good 2 hours this morning but I managed to connect the two floors and I’m pretty pleased with the end result.
The last thing I want to do before folks start arriving is cut two holes in the back of the stand. I have a solid cabinet in the back and I’ll need space to pass the electrical through as well as the drain and return lines. I actually might need to wait until people get here because it’s probably a good idea to remove the glass sump before I drill and saw my way into the back of the stand.
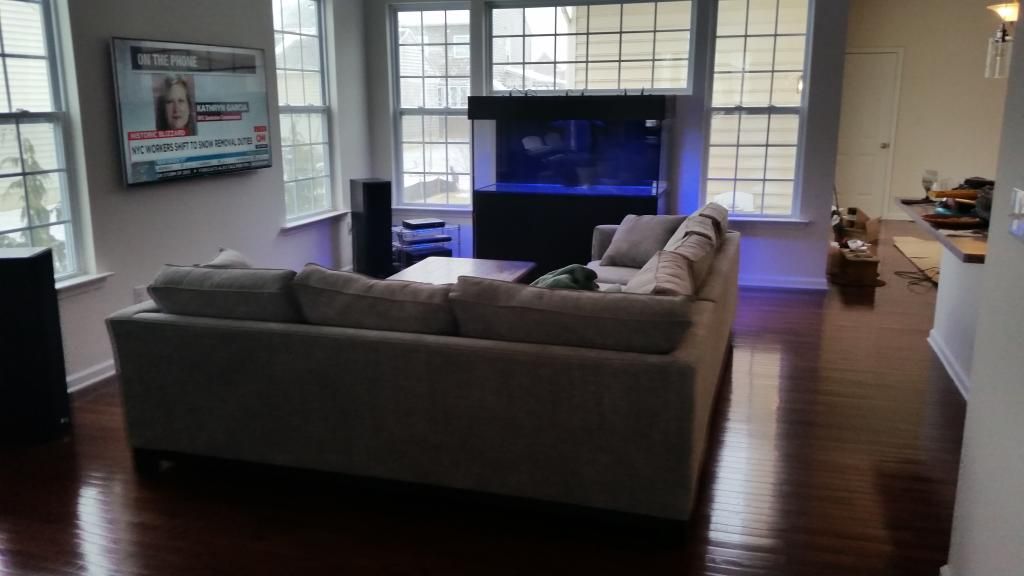
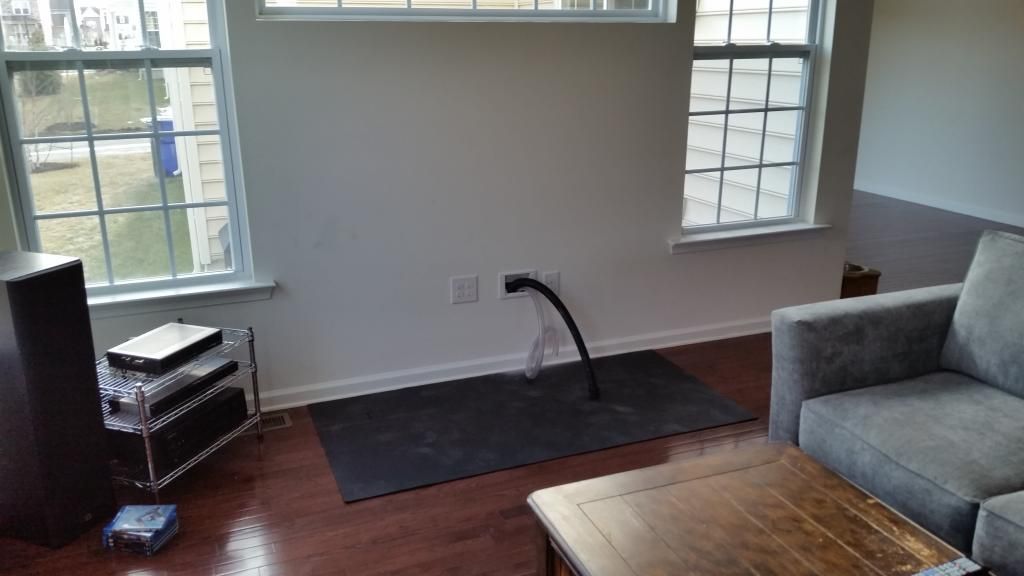
Here is where the tank will be going.
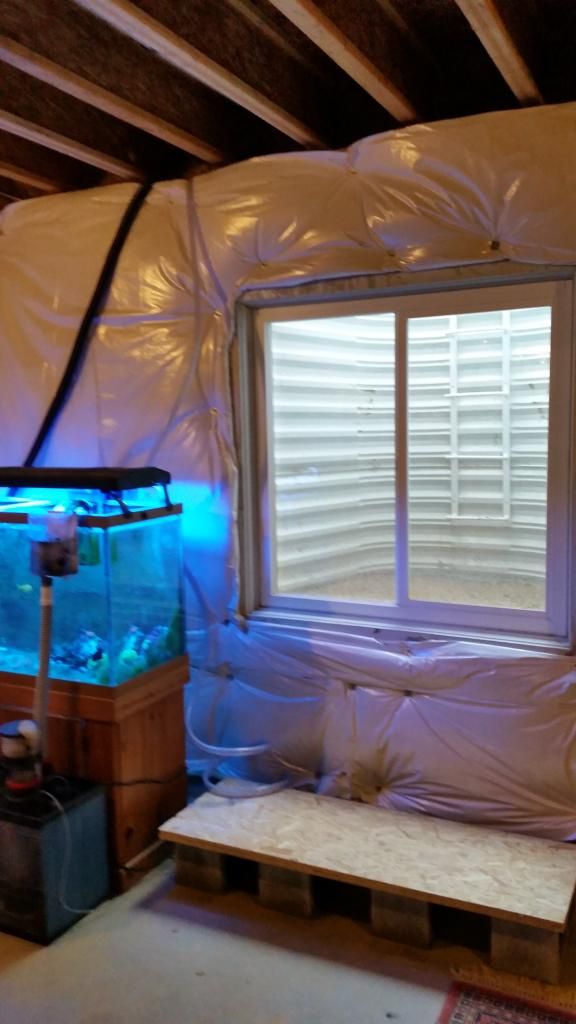
This is basement where the lines come down. I’ll be overflowing the 90 and the sump will go on the stand to the right.
Thanks everybody for your help today! ::hitsthefan::
[quote=“beadlocked450r, post:74, topic:7613”]
Thanks everybody for your help today! ::hitsthefan::[/quote]
Big thanks, Jason! It was almost a little too easy today. ;D
Its only a fish tank that needed to be moved. Not the statue of liberty! Bill and I moved a 220 by ourselves twice in the same day! Tore it down in newark,moved it to dover and set it back up in like 4hrs. Tim drove and slowed things down but he was there.
Easiest thing is to quite thinking about it and just get it done. The longer you think about it the longer it usually takes.
Glad I could help. Anything else you need you got my number.
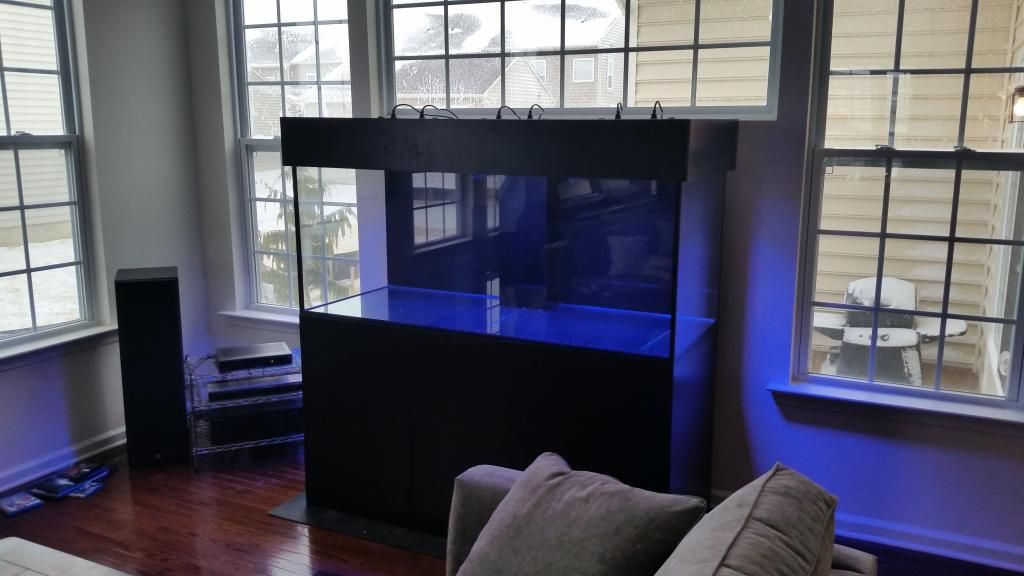
Thanks to the the help of Jason, Mike and Adam we managed to get the tank in place with very little effort. It really went smoothly today. Lots of pics to come!
The first thing we had to do was take the front doors and braces off the stand to remove the sump.
The folks at SC Aquariums were kind enough to design the stand so that removal of the front braces was a piece of cake. We were worried they were going to be installed in such a way that this was going to be a big hassle but we just popped a couple screws and it came out with ease.
Next the sump was moved into the basement. I was told that I was in the way and was not allowed to carry the sump lol. I filled it with saltwater to test the seals. So far so good.
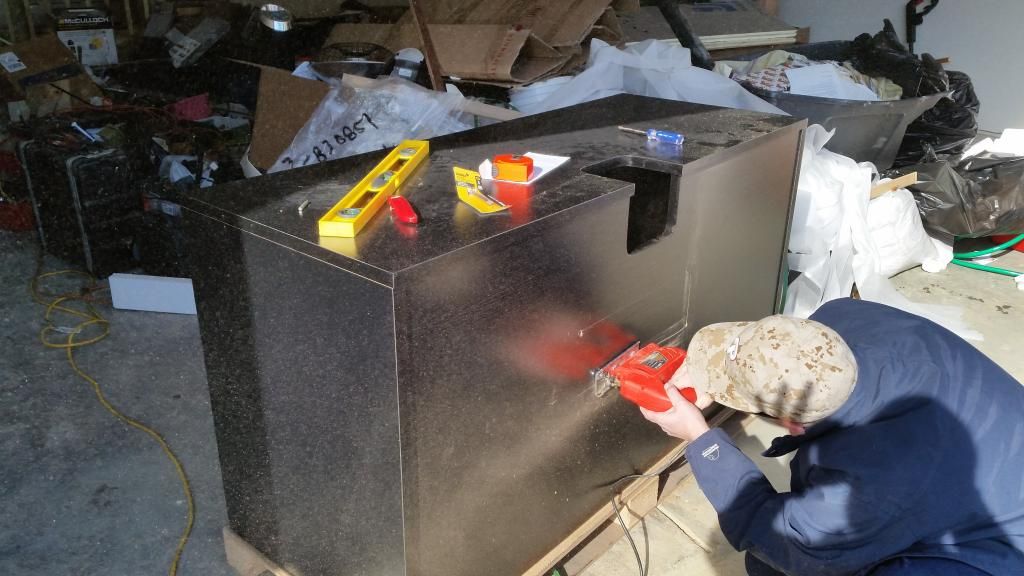
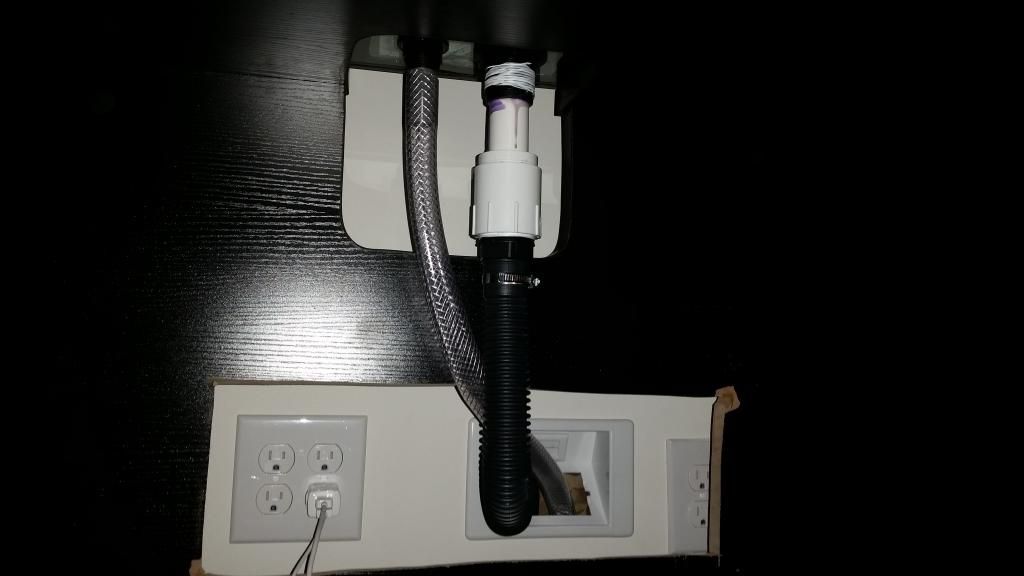
The final mod I wanted to make to the stand was to cut a hole to pass the electric, drain and return lines through. Here we have Jason making a cut with the jig saw.
We came up with a pretty good plan to move the tank itself from the garage to the living room. Thankfully, the builders hadn’t provided me with stairs leading out my sliding glass door in the kitchen. This allowed us to load the tank into the bed of Jason’s pickup truck and pull it up right along side the house. We maybe had to move the tank 10’ total and the reality is that it was only a two person job. It wasn’t as heavy as I thought it would be.
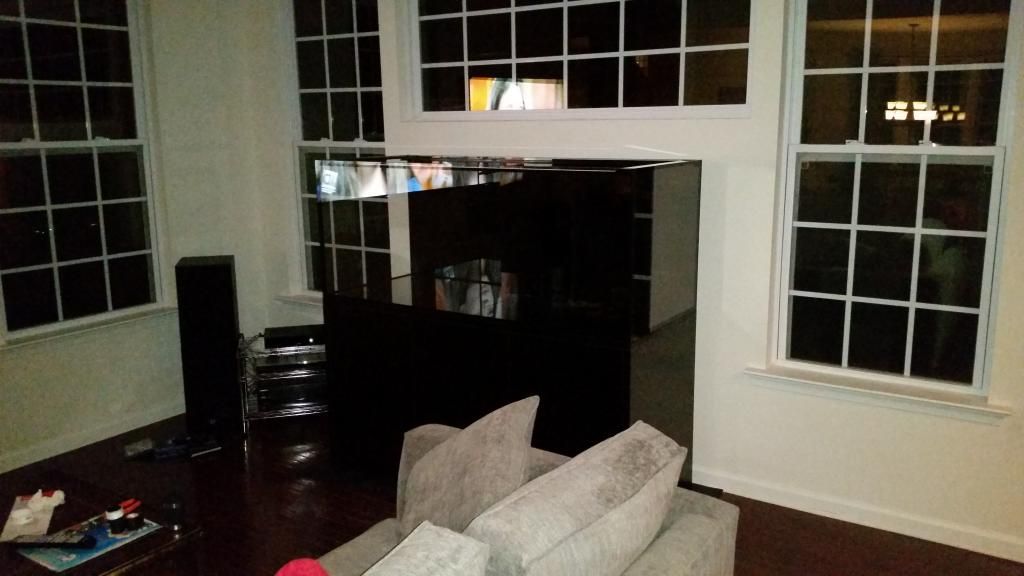
Here is the final resting location of the tank.
I made my first mistake during this part of the build. SC Aquariums provides you with a little piece of foam attached to the bottom of the tank to help level the tank. I thought it was packing material and ripped it away before someone mentioned that it was supposed to stay there. I don’t think it’s going to make any real long-term difference but I thought I’d mention it.
Next we had a little plumbing issue. Apparently the Chinese definition of 1" PVC isn’t quite the same as the American definition of 1" PVC. We came up with a couple strategies to fix the problem and at the end of the day I simply sanded the American PVC pipe down until it fit into the Chinese bulkhead. It’s my first time gluing, it isn’t pretty. Ignore the Teflon tape, that was from another attempt that we scrapped.
So all in all it was a great day. I needed to order a Mag 24 and if you weren’t aware Walmart sells them for $140. That pump arrives Wednesday. In the meantime, I’m ready to leak test the overflow overnight and hopefully start filling the display in the morning.
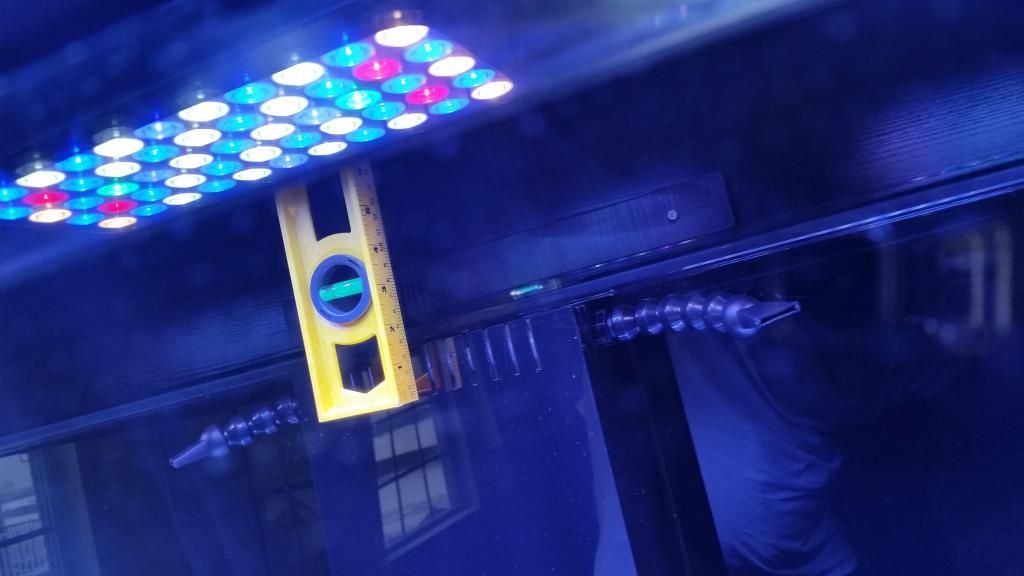
Got the canopy done this morning. The units are flush to the roof of the canopy. It’ll give a clean look outside the tank. I’m just hoping they are far enough off the water to get a good shimmer going. I think I’ll be 5-7". We’ll see when the water gets in there.
Water test went well overnight. No leaks. ;D
Looks like I’m just over 6" off the water with the LEDs. Hopefully that’s high enough with the 3 units on a 5’ tank.
Looks like it coming along :![]() :
:
