I have been scouring eBay, BRS, saltwater.com, and all over the internet for the perfect frag tank (for me), and couldn’t find exactly what I wanted.
There were plenty of acrylic tanks that were close but the footprint didn’t match what I was looking for at the height I was after. I inquired about custom building to my dimensions then the cost was much more. So rather than settle for almost the right size I decided to build my own, thinking it would be fun and probably save a few bucks.
Well the saving a few bucks part went out the window, but after a lot of scratching my head, punching on a calculator, and pestering the poor woman at the glass company, I finally decided on the exact size, types of glass, and stepped into another project, because I don’t have enough projects …
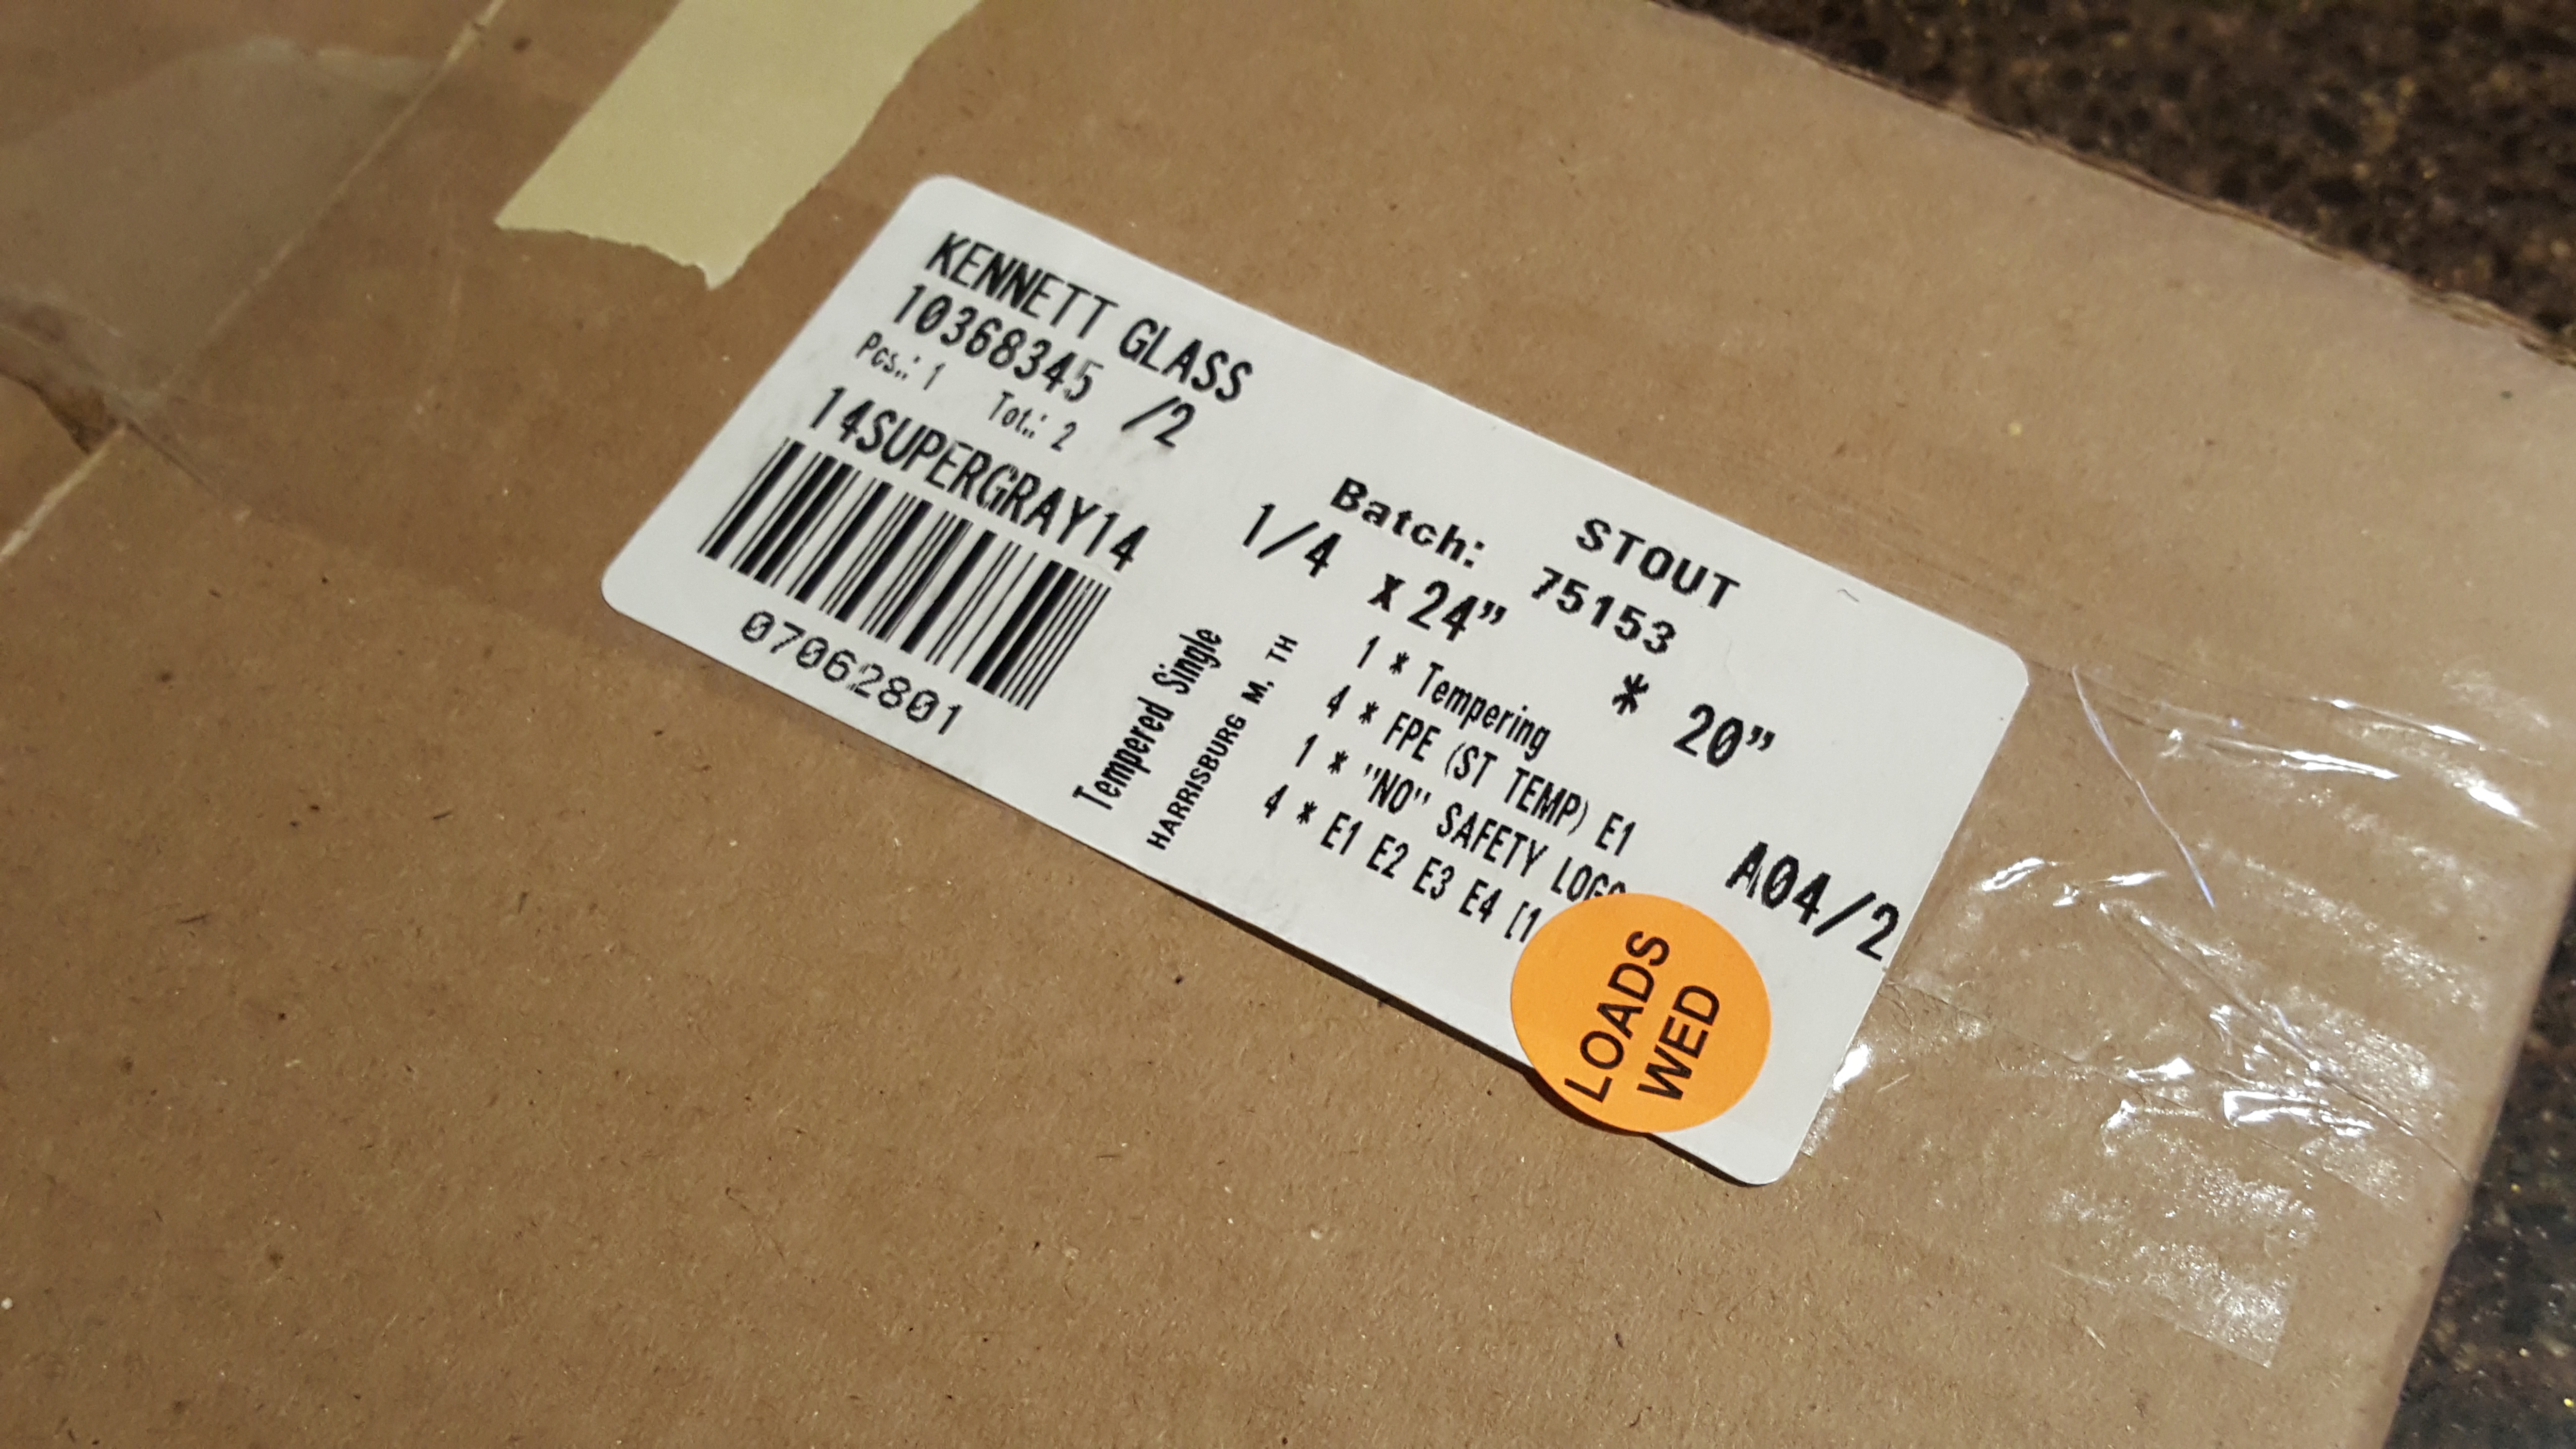
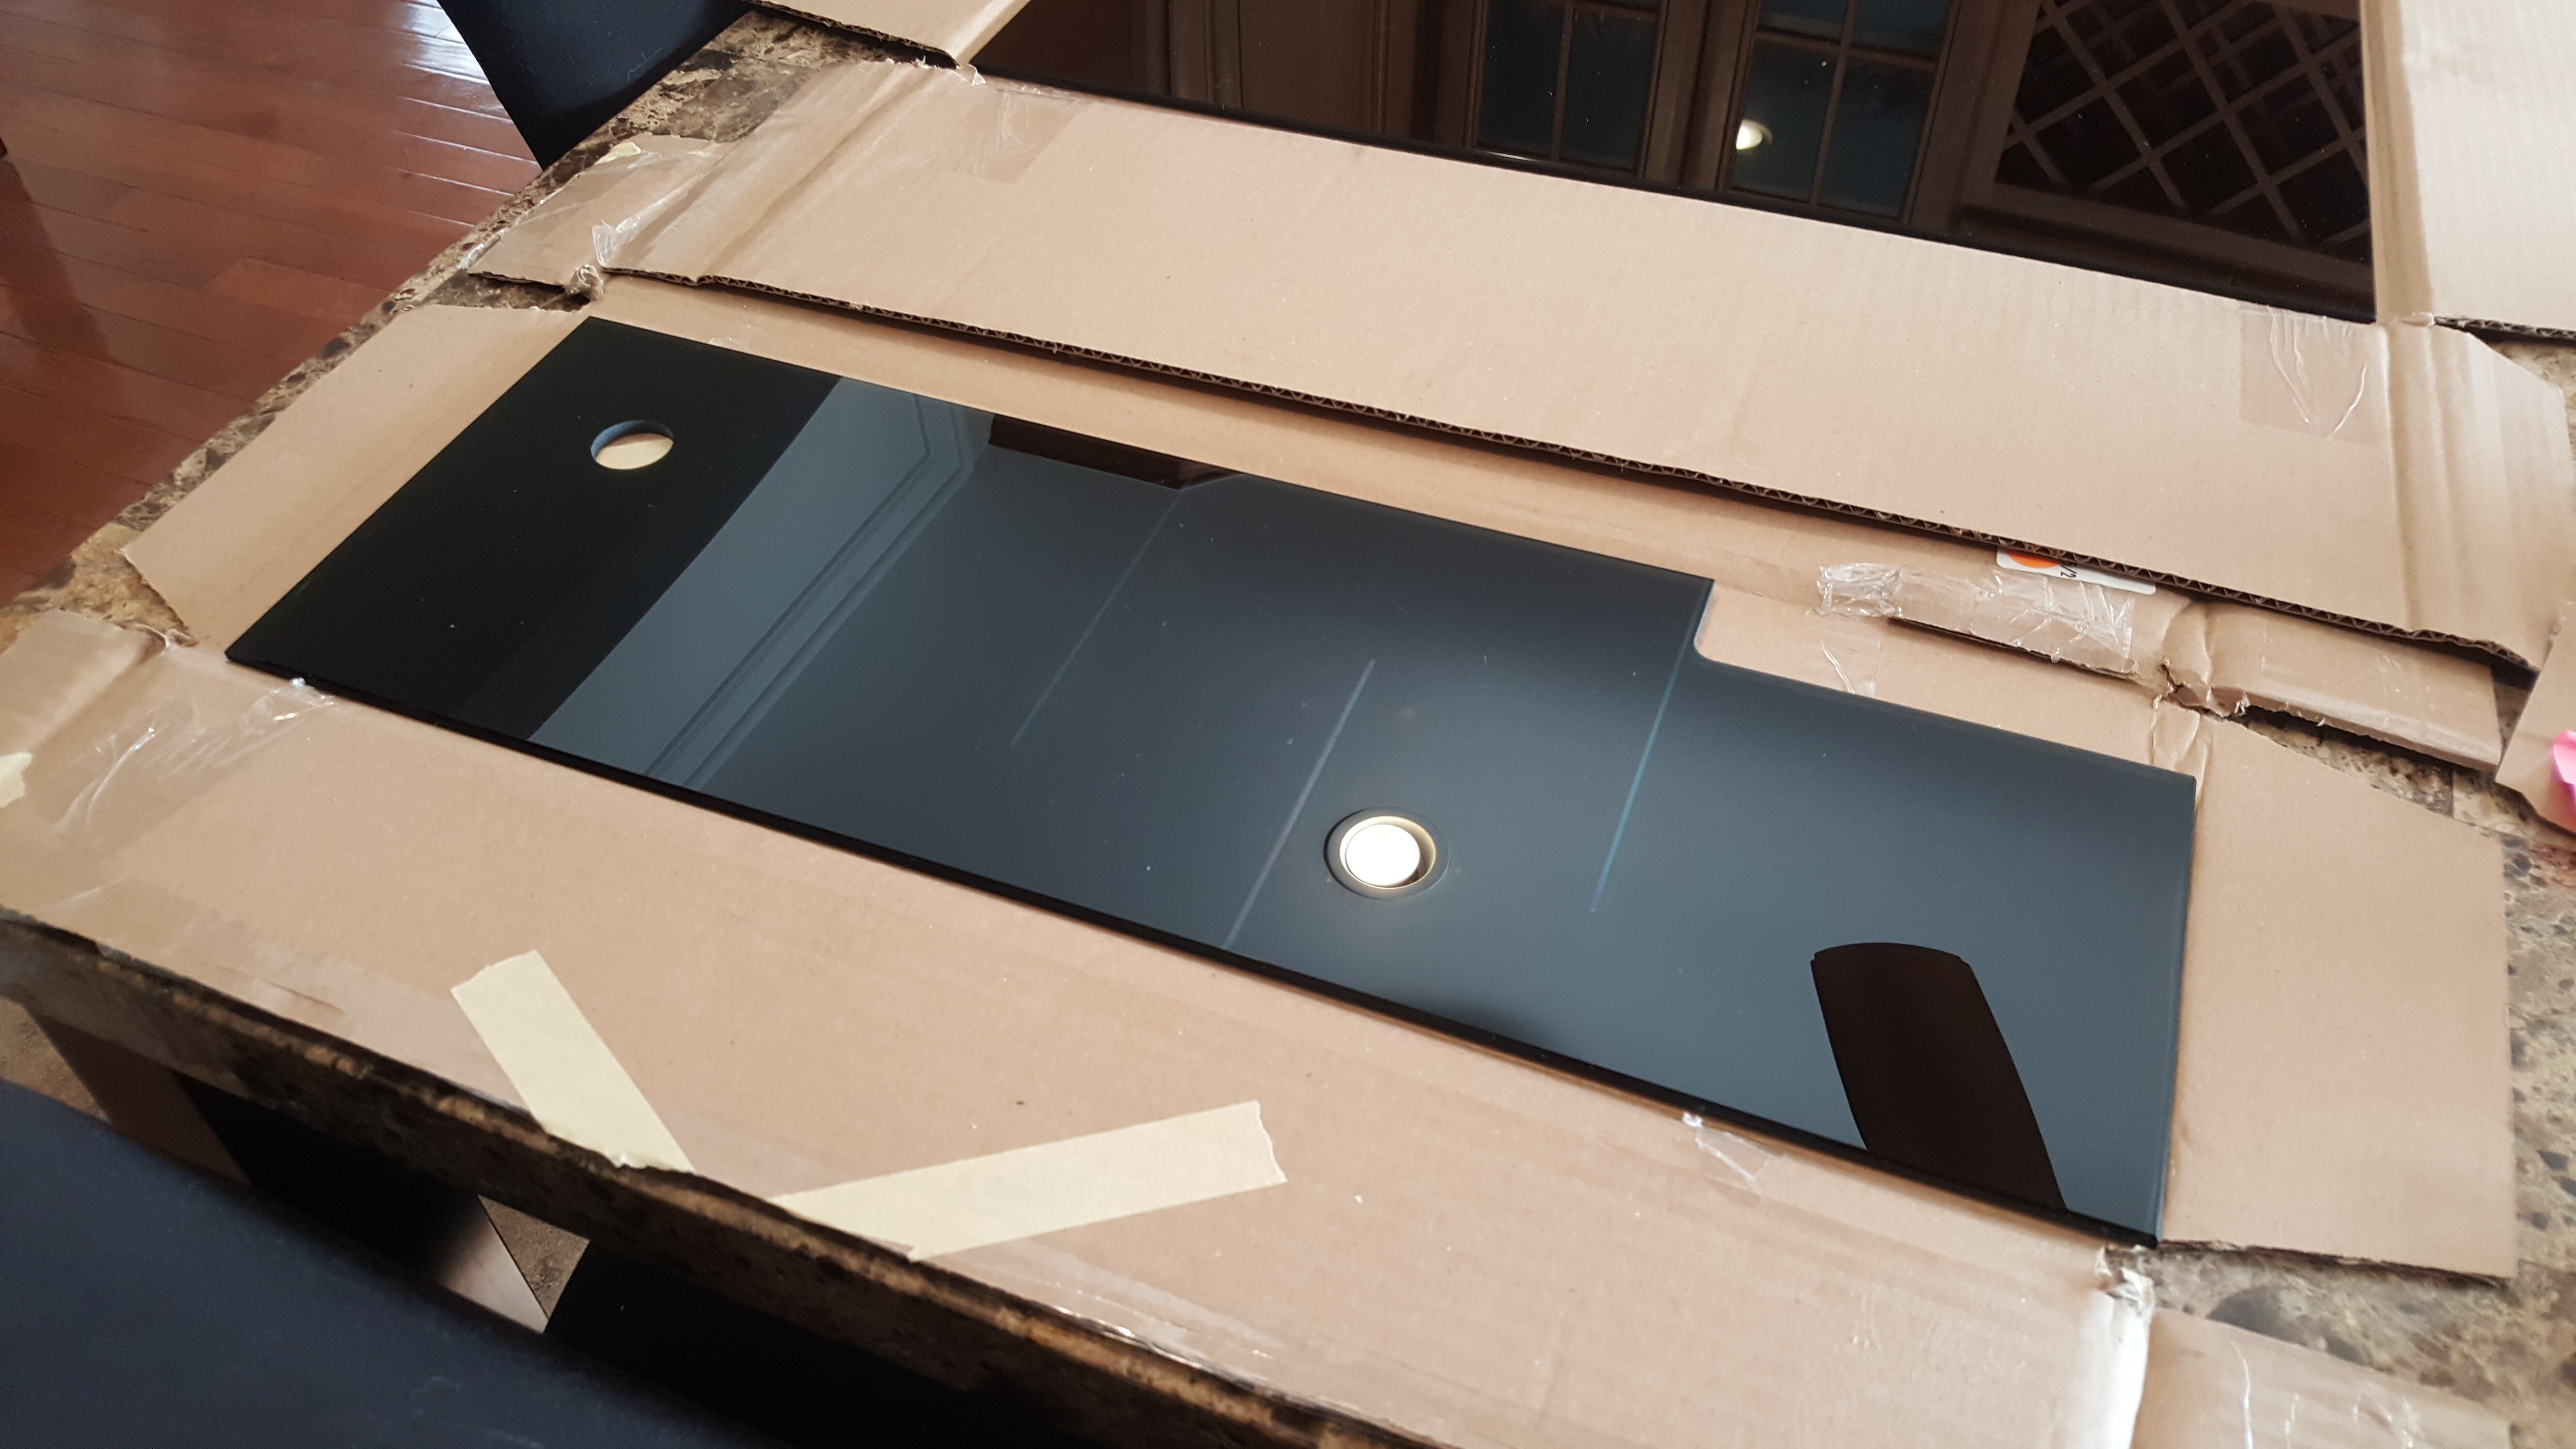
I will update this as I go but for now the glass has arrived.
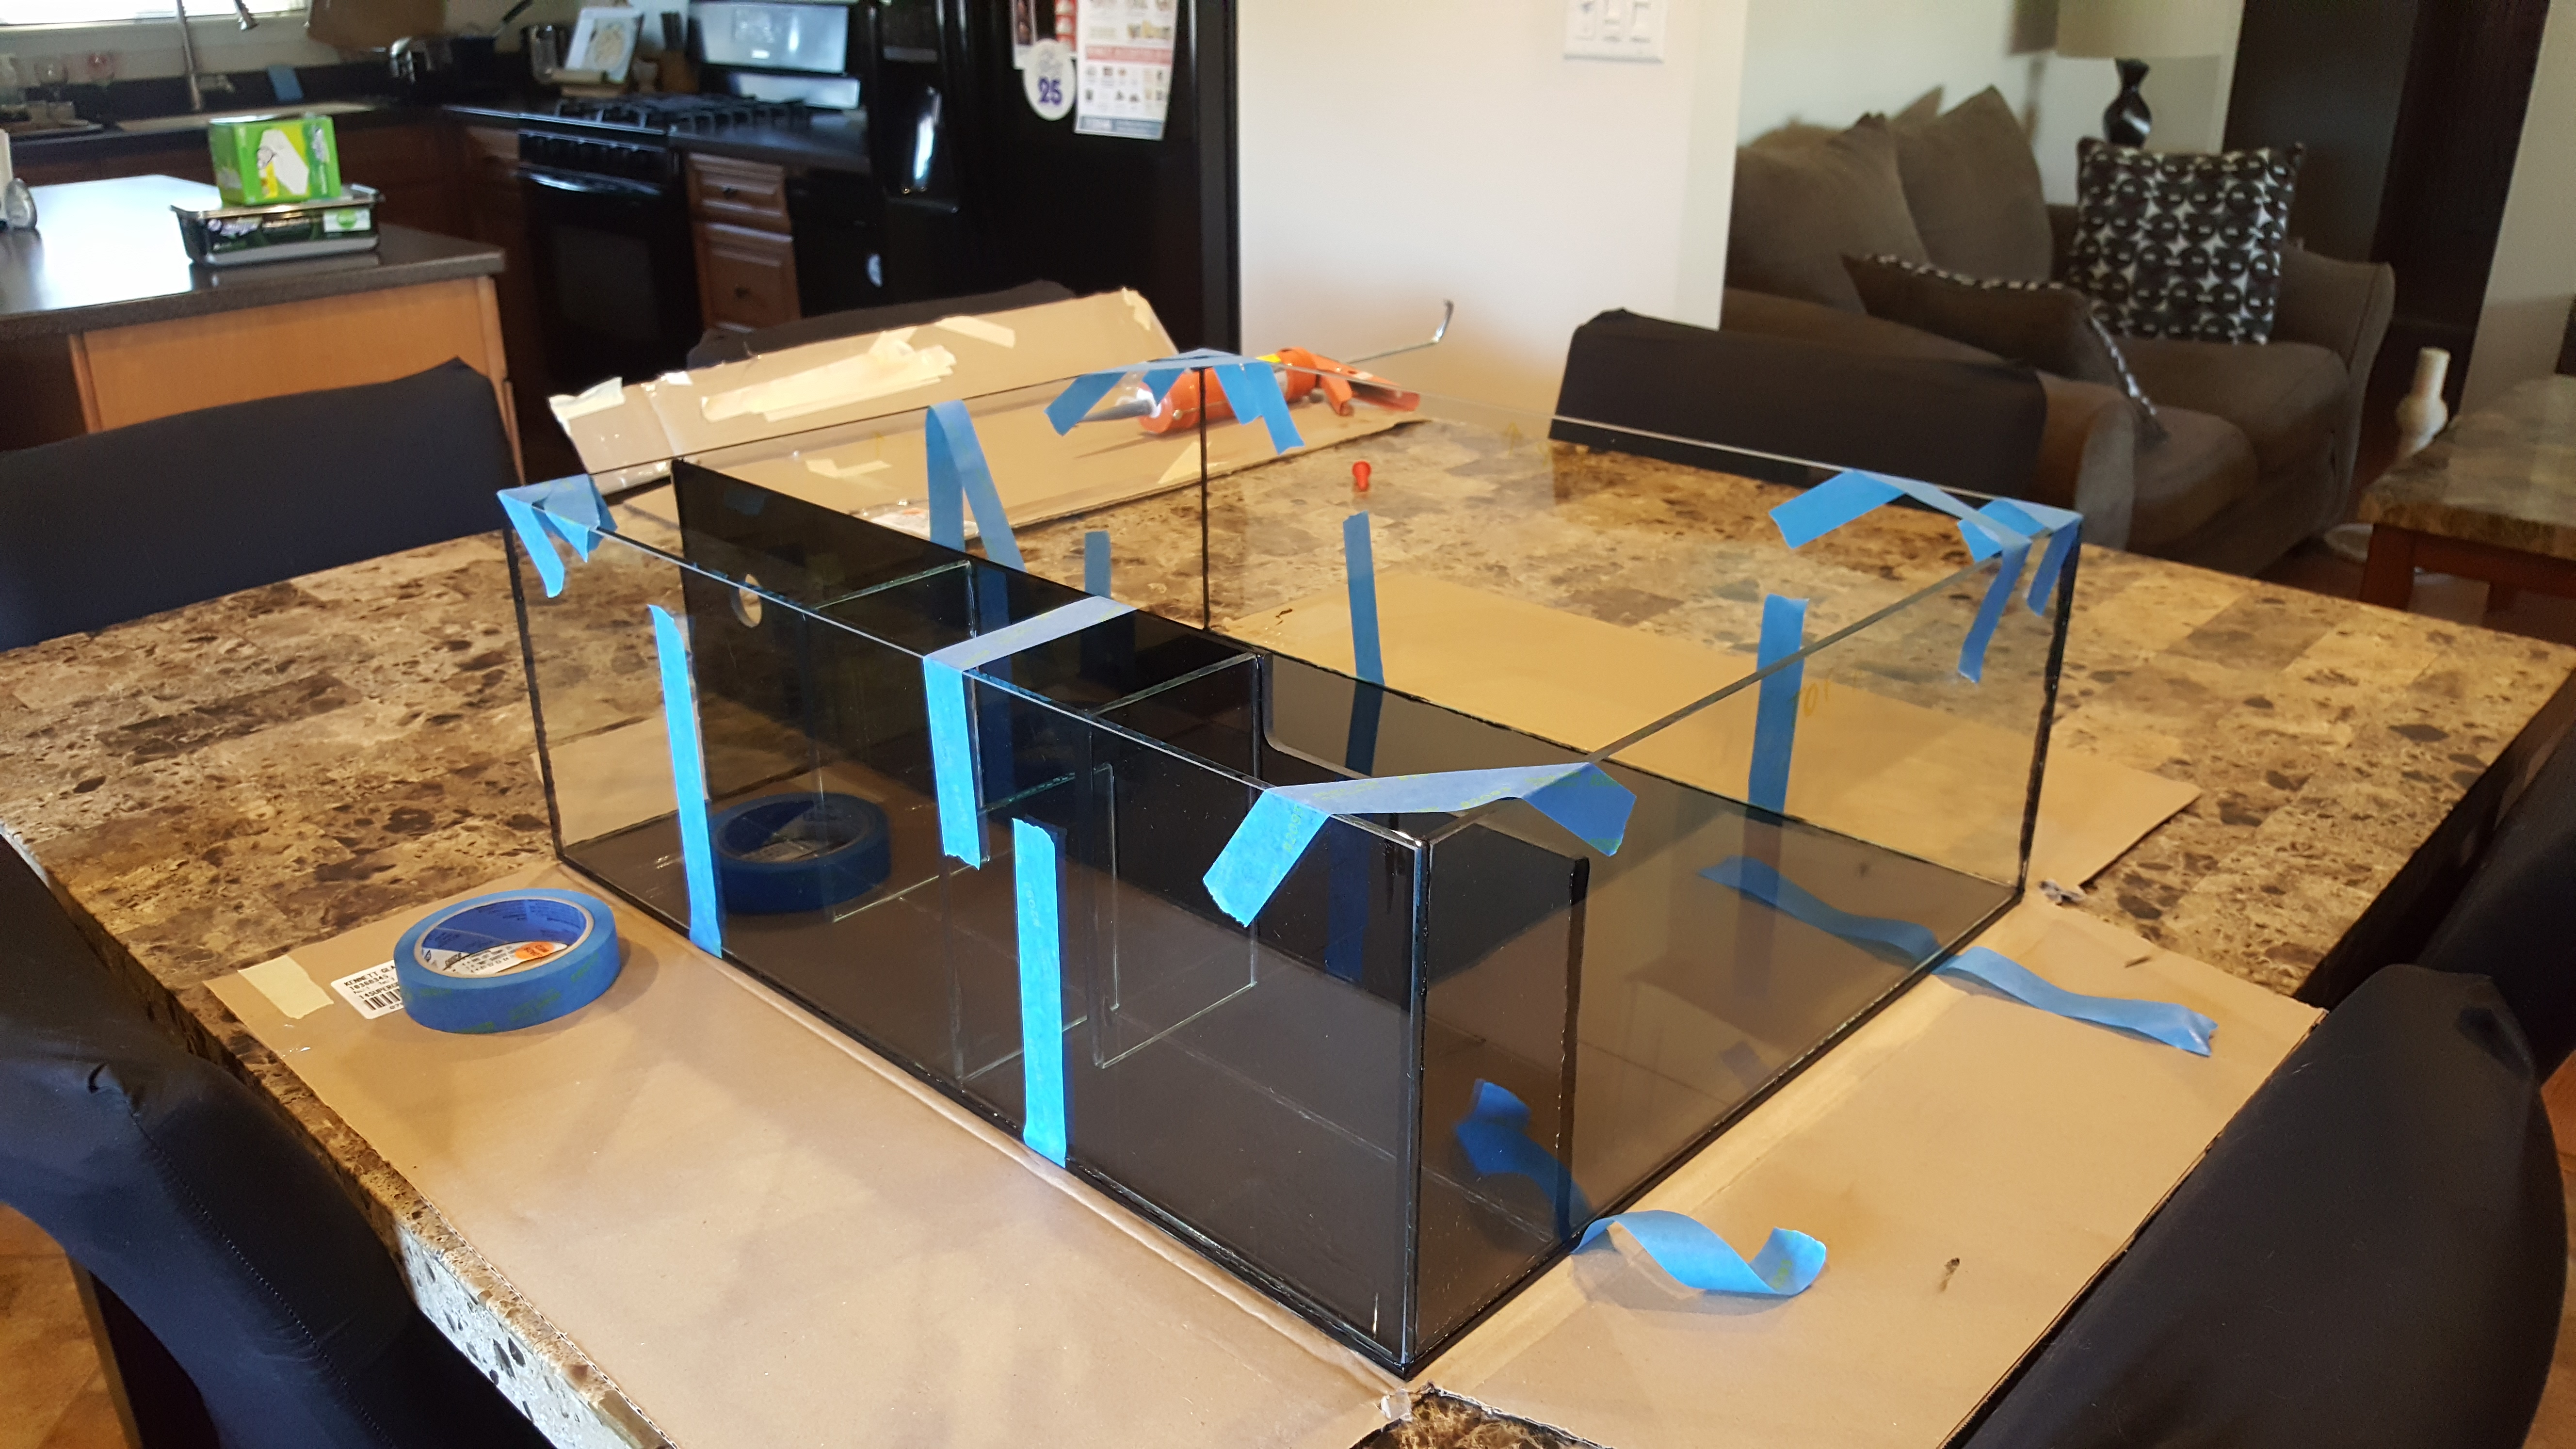
I started with the divider that separates the display from the filtration/media area ( I needed to get the baffles securely in place before moving forward, they are suspended and I couldn’t think of a good way to do that without letting them set a few hours ahead of the rest.
P.S. I actually took one of the baffles (center one) back to Kennett Glass to be shortened. I overlooked the height of the baffle being the same height as the bottom of the overflow. I didn’t think the water would flow well through the baffles this way so I took an inch off of the center one.
Once the baffles were set up and curing for about two hours I set two adjacent sides in place before installing the divider with baffles.
I figured it would be easier to do this before setting up all four sides.
Prior to setting the sides I put tape under the bottom glass to use as stableizers as each piece goes up. Once the corners were squared up I used additional tape to keep them from sliding out of position.
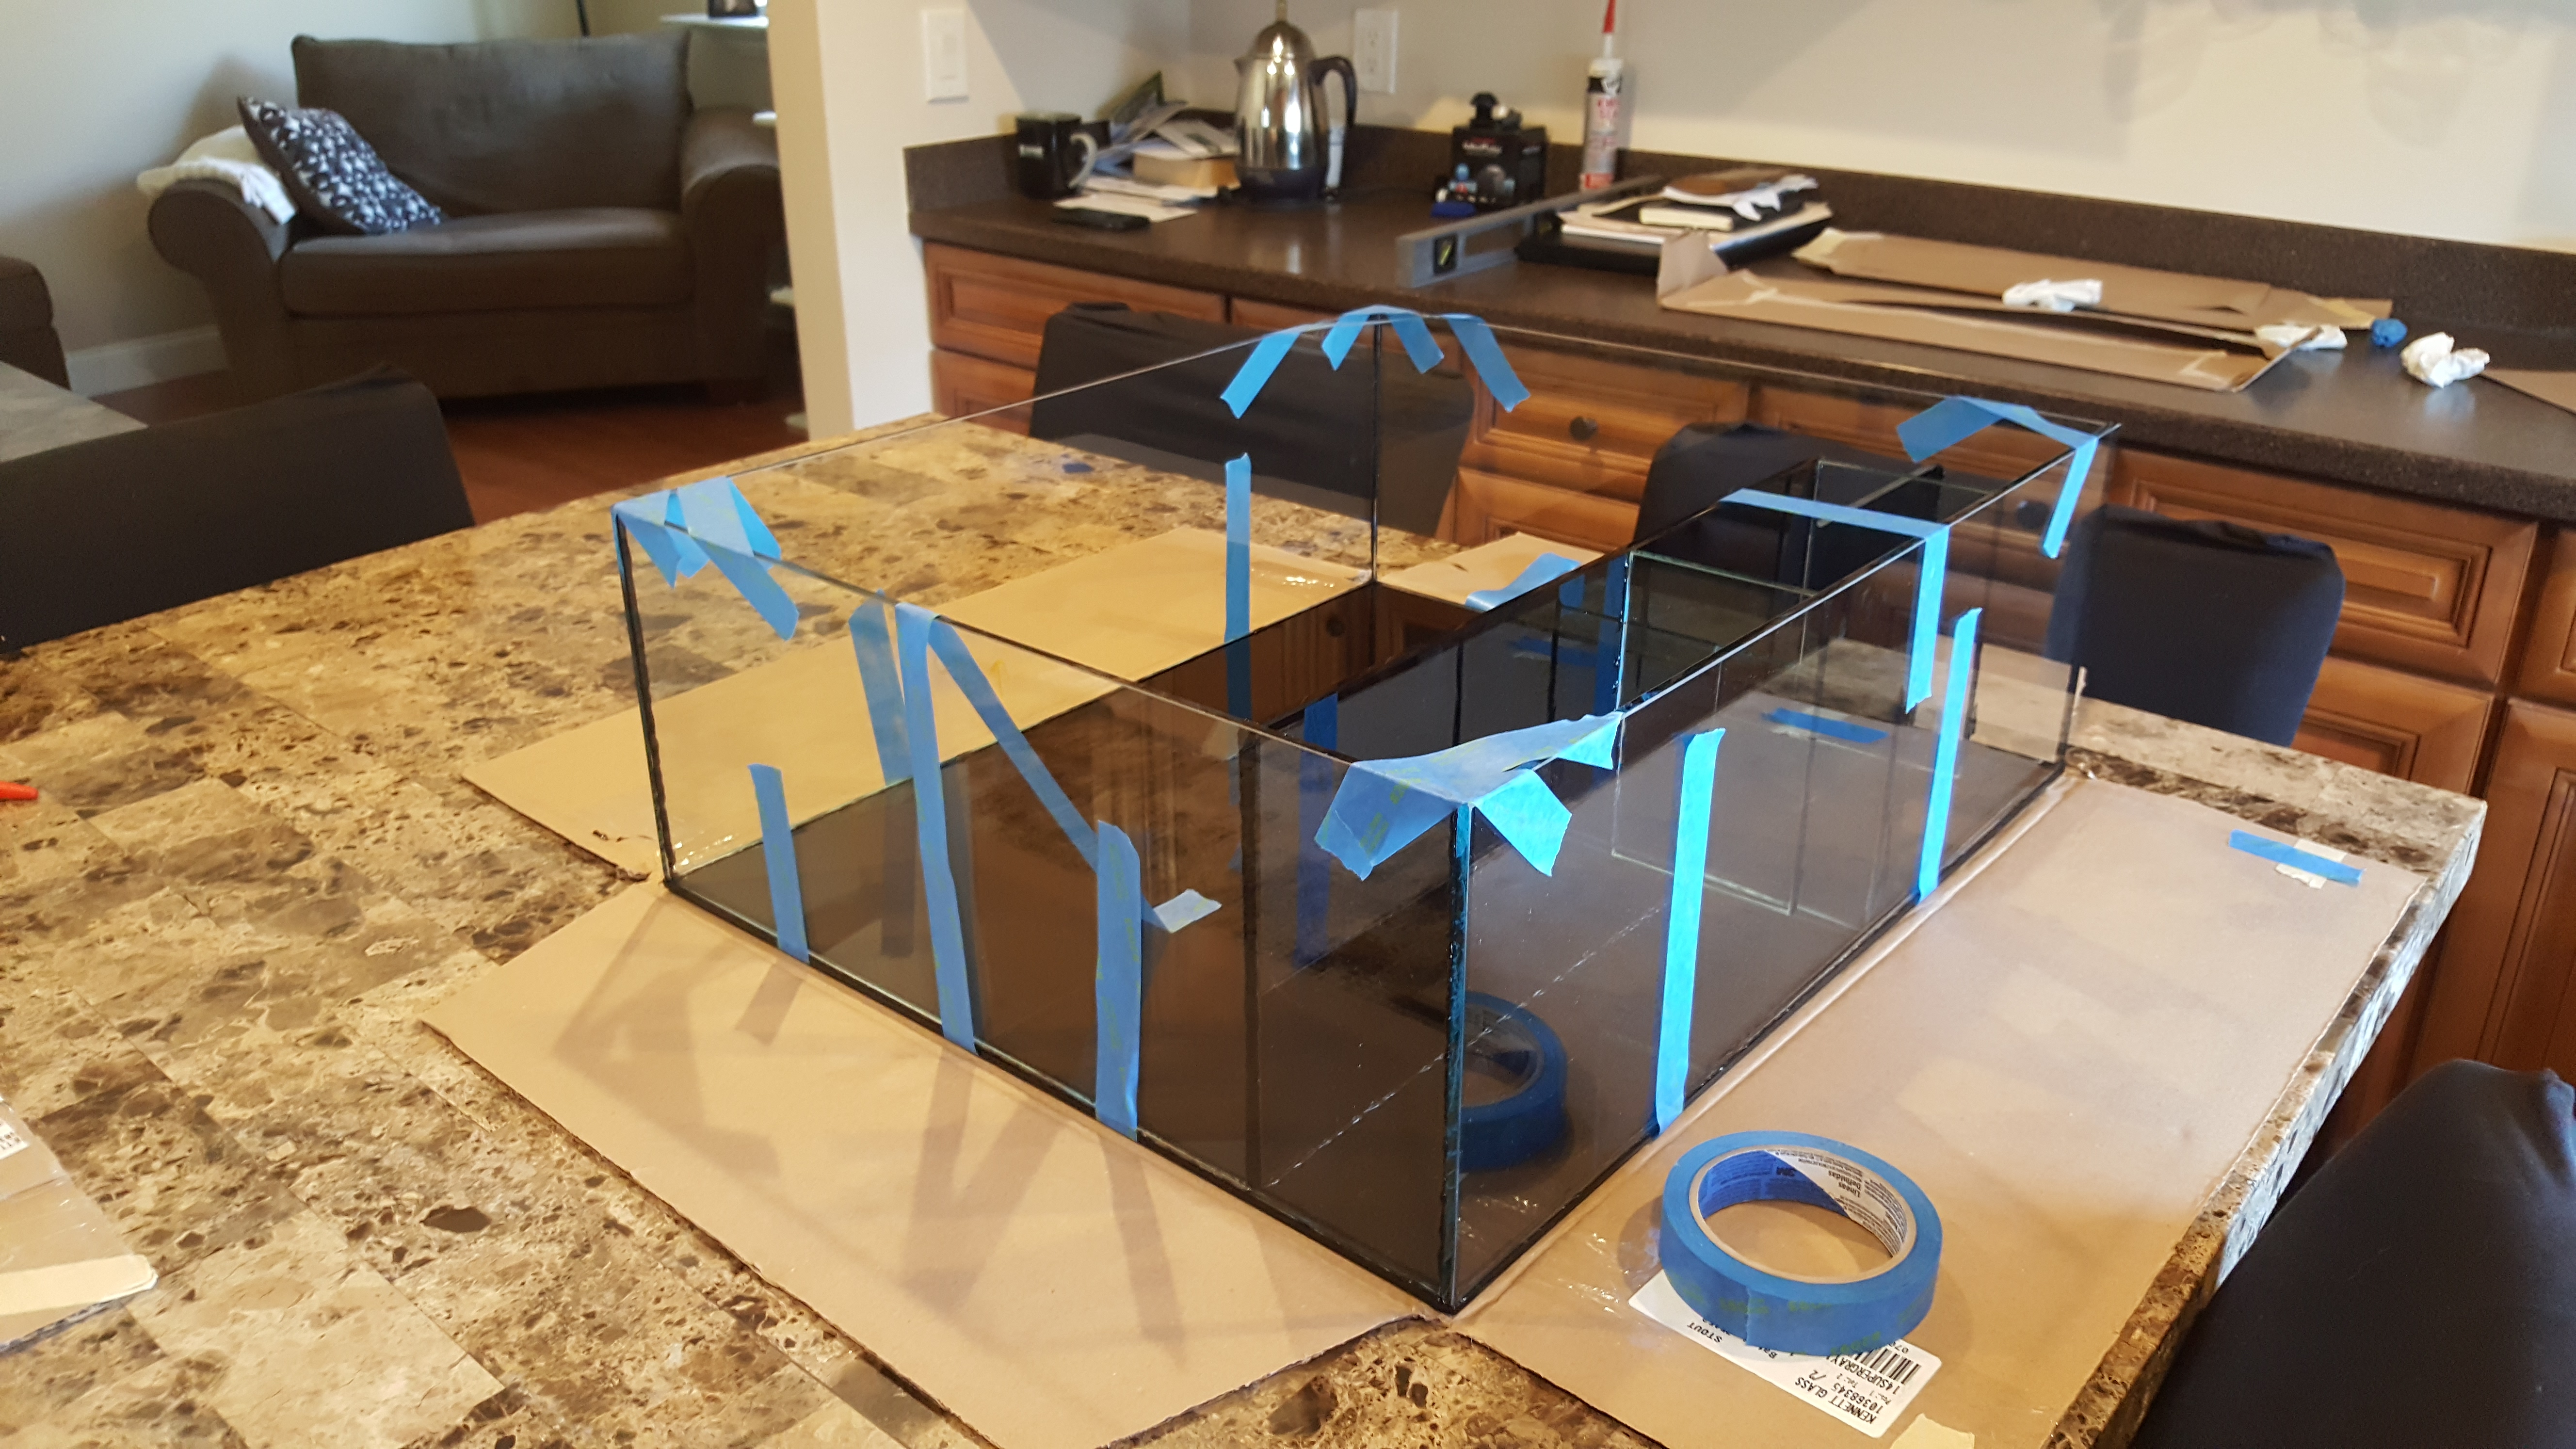
In hind sight I would have positioned the rear panel first followed by the divider with baffles, then the side, but it turned out ok.
The last two sides went pretty easily, now I am waiting for it to fully cure before attempting to move it.
I decided to wait until all of this set up and cured before putting the inside bead around all of the corners. If this was a permanent tank and didn’t have the complexity of the baffles I would have done this as I went. I am confident that I have a good seal on all of the joints and I will water test it before putting the final bead in place.